Shower Tile Laying Services for Property Owners
Visitors can learn about shower tile laying services and compare local contractors who handle this work in their area.
- - Residential property owners seeking professional shower tile installation or repair services.
- - Commercial property managers requiring reliable tile laying solutions for bathrooms and shower areas.
- - Home renovation contractors looking to connect with local tile specialists for shower projects.

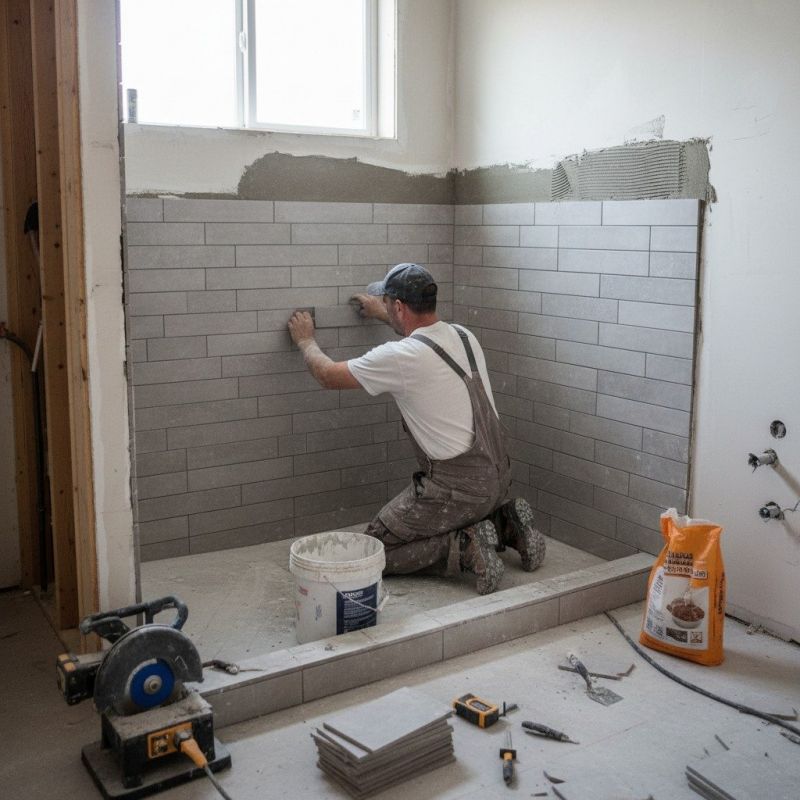
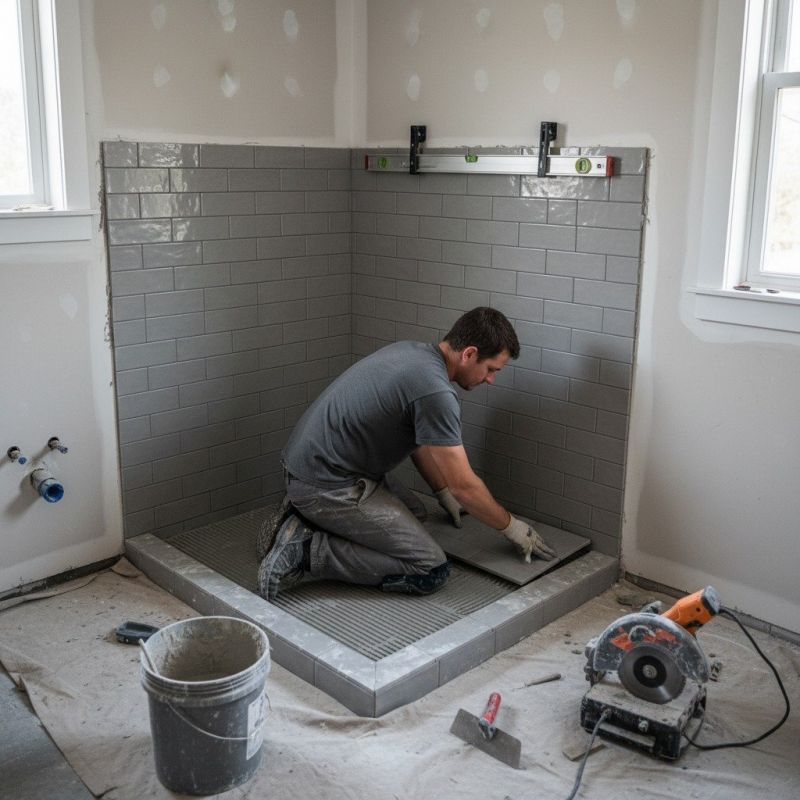
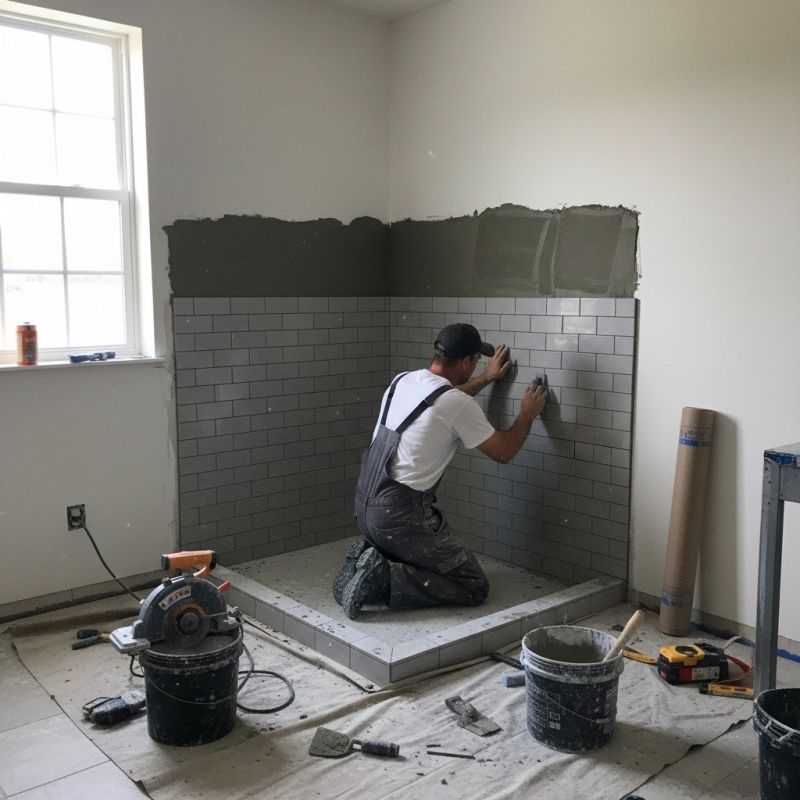
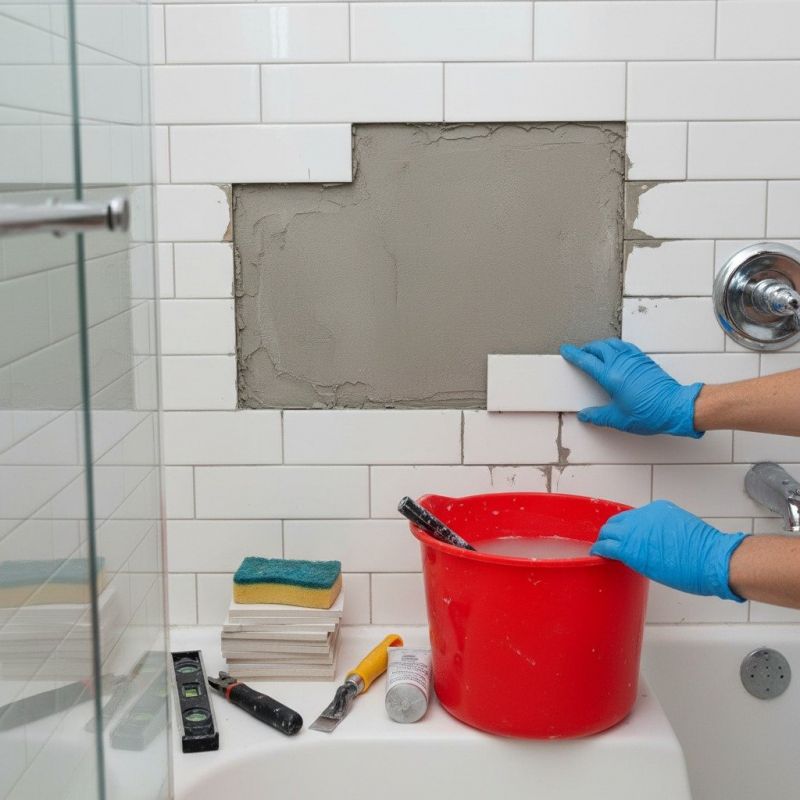
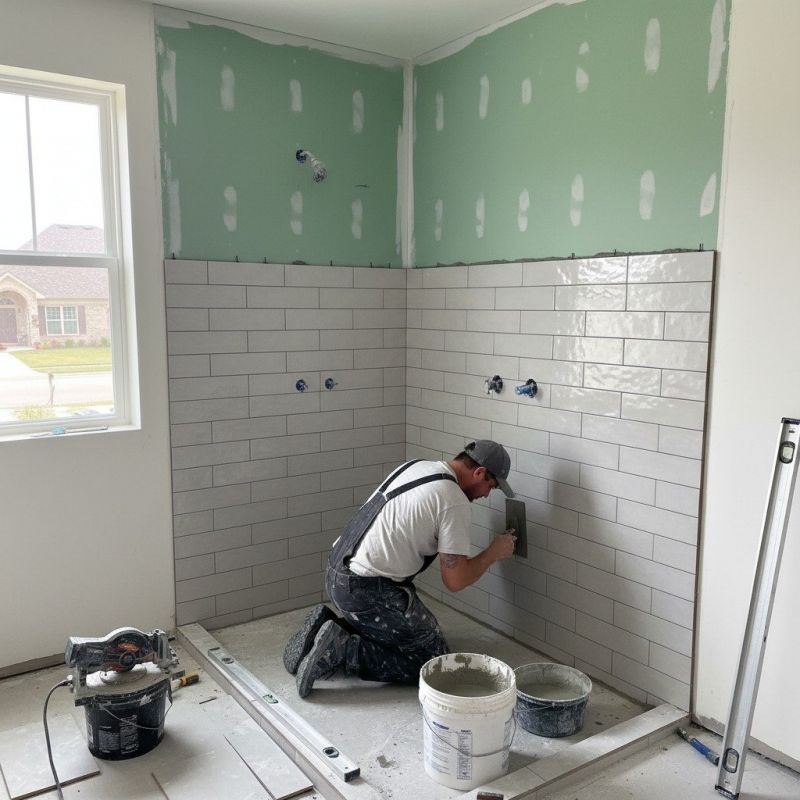
Shower tile laying is a specialized service that involves installing or replacing tiles in bathroom showers to achieve a durable and visually appealing surface. Property owners often seek assistance from local contractors who have experience with waterproofing, proper tile placement, and grout application to ensure the finished work withstands moisture and daily use. These professionals can handle a range of projects, from updating a single shower to completing extensive bathroom renovations, providing expertise to help achieve a clean and functional look.
Connecting with local service providers can simplify the process of finding qualified contractors for shower tile installation. Service providers typically offer consultations to discuss project scope, materials, and design preferences, helping property owners make informed decisions. By working with experienced local pros, property owners can expect quality workmanship tailored to their specific needs, ensuring the shower area is both attractive and built to last.
This guide helps visitors understand the key factors involved in choosing shower tile laying services. It provides tips for comparing local contractors and understanding the scope of work. By highlighting important considerations, it assists in making informed decisions about connecting with qualified service providers.